Set Up Mail in Microsoft Mail
Microsoft Windows ships with a free email client called Microsoft Mail (in recent versions of Windows). You can configure it to send and receive mail from your domain's email accounts as well.
The screenshots show Microsoft Mail running on Windows 10. Depending on your OS version, it may look slightly different.
When you start Microsoft Mail, follow these steps to configure it to check your email account:
- Click the small gear icon near the bottom left side of the overall Mail window.
- Click on Manage accounts from the Settings menu that appears.
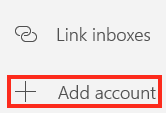
- Select + Add account from the options that appear.
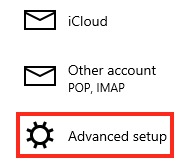
Choose the Advanced setup option at the bottom of the list.
You may need to scroll down somewhat to see the Advanced setup item.
- Select Internet email as the type of mail account you wish to set up.
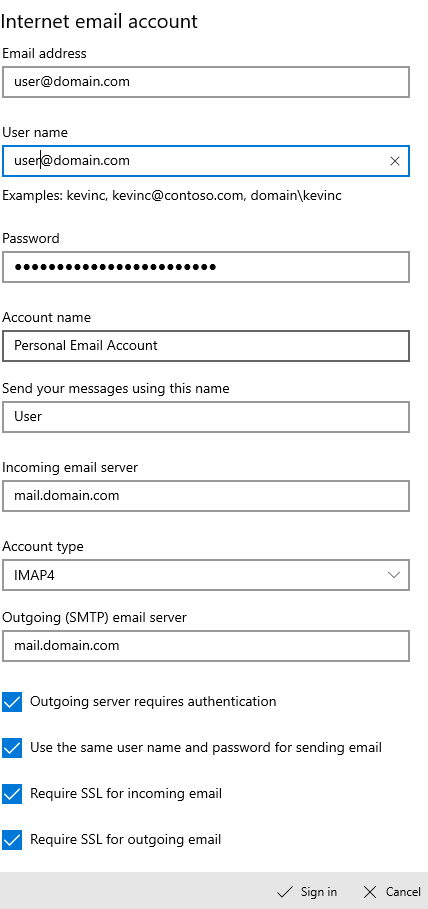
- On the next screen, you need to fill in all of the information needed for your account. Suggestions can be found here.
- The Email address and Username are often the same, though for some accounts, the username might be just the part of your email address before the @.
- Enter your email address Password.
- The Account name is a friendly name you can use to identify this account in Microsoft Mail. It does not get shown to anyone else.
- Send your messages using this name is the name mail recipients will see in the From: line when they receive mail from this account.
- The Incoming mail server is typically your mail server's hostname, your domain name or mail.yourdomain.com.
Choose IMAP4 or POP3 from the Account Type drop-down menu, depending on what mail protocol you want to use. You can learn more about the pros and cons of both protocols here.
When in doubt, select IMAP4.
- The Outgoing mail server often, but not always, matches the hostname you used for the Incoming mail server.
- Typically it is a good idea to leave all of the other options checked unless you know your mail server cannot accept secure mail connections.
- Click Sign in to complete the set up. Microsoft Mail will check your settings and let you know if they worked or if there are errors.
Once successfully set up, you can send and receive mail from this account.


