Create a Backup of a Virtual Server
If you'd like to take a backup of your Cloud server, here's how you do it:
Access Your HostDime Cloud Account
This is how you access your Cloud server's main page in HostDime's Cloud.
-
Log into your CORE account and click Cloud under the Products menu.

-
Click the Login to Cloud Portal button.

-
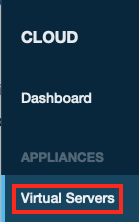
Now you will be on our Cloud dashboard page. Click on the Virtual Servers item in the sidebar to switch to a view of your virtual servers.
-
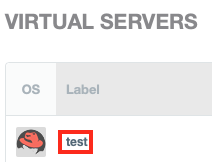
You will see a list of all of the virtual servers you've created. Click on the Label for the server you want to work with.
-
This will take you to a page where you can see up-to-the-minute statistics and work with your virtual server.
Taking an Immediate Cloud Backup
Here's how to backup your Cloud server:
-
Click on the Backups button.

-
Select Files from the drop-down list.
-
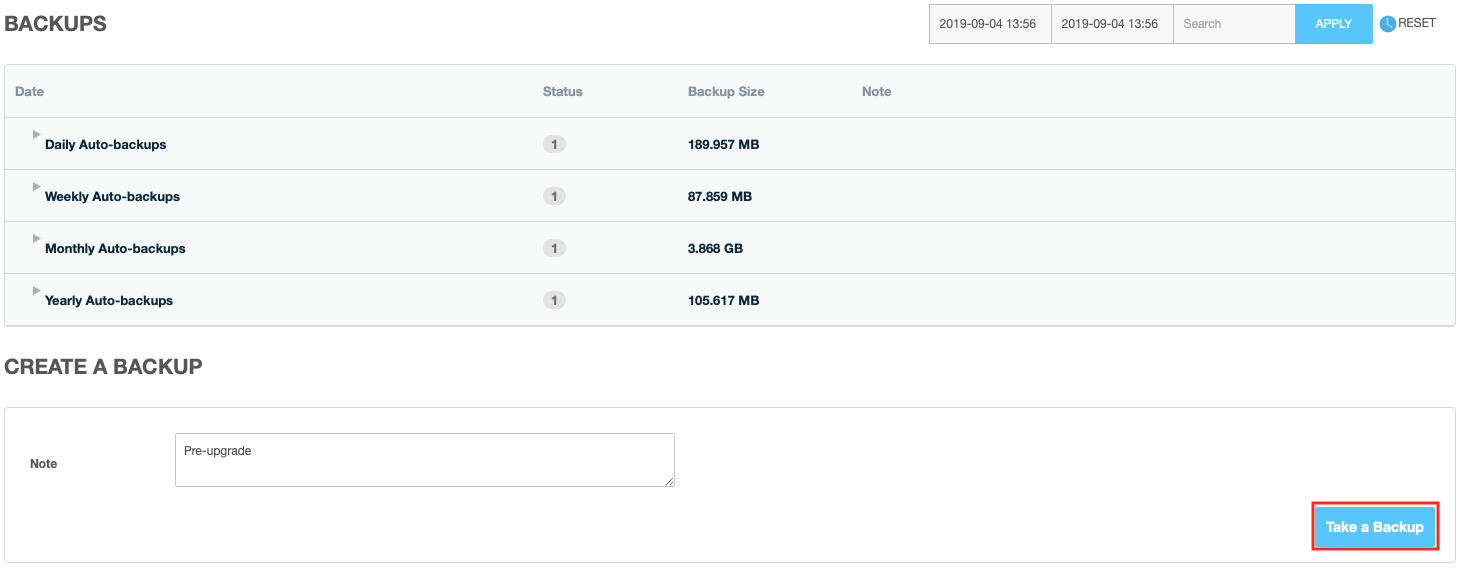
On this screen you will see the list of existing backup and at the bottom the location to create a new manual backup.
-
Enter an optional Note that will be displayed with the backup on this screen (once it completes successfully).
-
Click Take a Backup to start the backup process. The backup will commence in the background and you will be able to see the progress on the main Virtual Server page.
-
The backup will be scheduled to start as soon as possible and you can watch the progress from the Manual Backups section at the top of this screen.
-
Once complete, you will be able to work with your new backup from the list of backups at the top of the Backups > Files screen.
Scheduling a Backup
You can also schedule backups to be taken automatically at regular intervals.
-
Click on the Backups button.

-
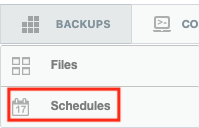
Select Schedules from the drop-down list.
-
Click the New Schedule button to create a new scheduled backup process.
-
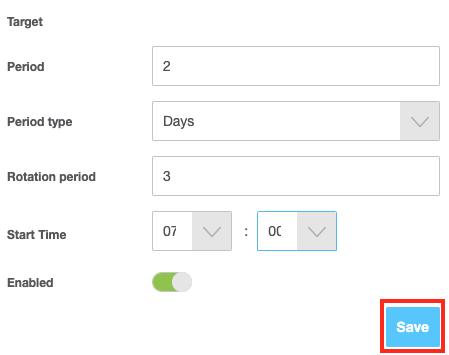
Fill in the backup schedule as appropriate:
-
The Target will show you what virtual server this scheduled backup will apply to.
-
The Period should be a number that controls how frequently the automatic backup is made (in conjunction with the Period Type below).
-
Select the Period type from the drop-down list. It can be days, weeks, months, or years.
-
Rotation period tells the system how many automatic backups to keep from this schedule.
-
The Start Time is set in 24-hour time. This will control when the backup gets started. This feature uses the time set by our Cloud control panel, not that of the virtual server.
-
If the backup schedule is Enabled, it will be automatically taken at the times specified.
-
Click the Save button to apply these changes.
-
-
The backup(s) will start getting taken the next time the Start Time comes around. If you want an immediate backup, do a manual backup instead.
✅ Here's an example of the automatic backup scheduling feature:
If you set the Period to 2 and the Period type to Days, and the Rotation period to 3, our Cloud portal will back this virtual server up every other day and keep the most recent 3 backups.