Remove IPs from a Virtual Machine
To remove an active IP from your Cloud server, you first need to bring up the page in our Cloud portal.
Access your Virtual Server's Main Page
This is how you access your Cloud server's main page in HostDime's Cloud.
-
Log into your CORE account and click Cloud under the Products menu.

-
Click the Login to Cloud Portal button.

-
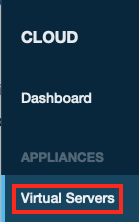
Now you will be on our Cloud dashboard page. Click on the Virtual Servers item in the sidebar to switch to a view of your virtual servers.

-
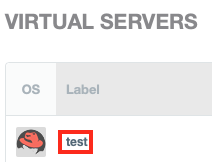
You will see a list of all of the virtual servers you've created. Click on the Label for the server you want to work with.

-
This will take you to a page where you can see up-to-the-minute statistics and work with your virtual server.
Removing an IP from your Server
-
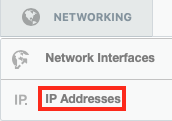
Click on Networking then choose IP Addresses from the drop-down menu that appears.

-
Click on the trash icon near the IP you would like to delete.
-
You can rebuild the Virtual Server's network or add or remove another IP now if you wish.
ℹ️ Depending on your Cloud server's operating system, you might need to restart or make other changes on the server after adjusting networking settings.