Enable Plugins in NodeWorx
InterWorx ships with a variety of plugins that can add or change functionality, but they are disabled by default. It is also possible to create or install additional plugins if you want. You may want to review the available plugins to see if there are any you'd like to enable on your server.
✅ One commonly used plugin is the Let's Encrypt plugin that automatically attempts to request, install or update free domain-verified SSL certificates for all of the domains that resolve to your InterWorx server.
To view the list of currently installed plugins and enable, disable or configure them, do the following:
-
Log into NodeWorx as an administrative user.
-
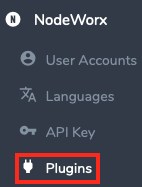
Under NodeWorx select Plugins.

-
All of the currently available plugins on your server will be displayed and each will show whether it is enabled or disabled to the right of the plugin listing.

-
Click the pencil icon to make changes to a plugin.
-
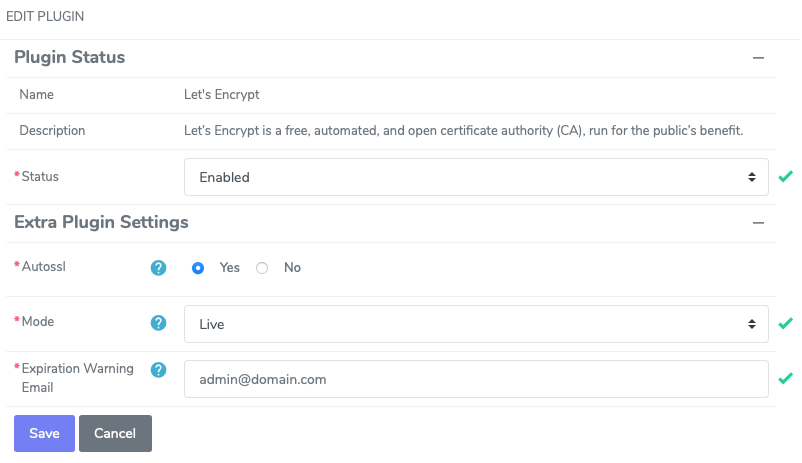
You can then choose to enable or disable the plugin as well as fill in any information or change settings related to that item.

-
Click Save to apply your changes.
Now you should check to see if whatever features the plugin adds are working.