Clone a WordPress Site
Read on to learn how to clone an existing WordPress site to another location so you can use it as a separate site with duplicated setting, content and users.
Using Softaculous
You can use the premium version of the Softaculous auto installer to clone an existing WordPress site, even if if you didn't use Softaculous to install the site to be cloned. These directions work the same on every platform that Softaculous supports.
Importing Local Existing WordPress Site into Softaculous
The steps in this section are optional. If you installed WordPress via Softaculous or if you've already imported the existing installation, the site will appear in Softaculous automatically. Only follow these steps if you installed WordPress through some other method (or manually) and want to be able to manage it with Softaculous.
-
Access Softaculous for the domain that has the WordPress installation you want to import.
-
From within Softaculous, select WordPress from the sidebar or the main screen.
-
Select the Import tab from the top right side of the WordPress screen.
-
To import existing installs in your account, click the Auto Install all installations button near the top right of the screen.
-
Click the Start scanning for installations button to start the import process.
-
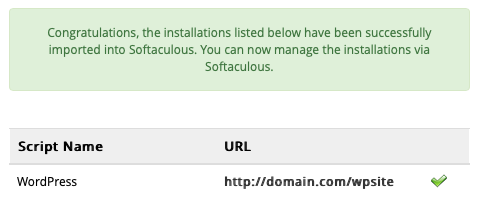
The system will take a bit and then report if it found any valid installations or not.
Clone WordPress Site in Softaculous
Now that you have the WordPress installation in Softaculous, you can use it to clone an existing installation.
-
Access Softaculous for the domain that has the WordPress installation you want to import.
-
From within Softaculous, select WordPress from the sidebar or the main screen.
-
Find the WordPress install you want to clone in the list and then click the Clone icon on the right of that line.

-
Adjust the Clone Installation Details as needed, selecting a different location and URL for this clone.
-
Click the Clone Installation button when you have everything set as you would like.
Softaculous will take care of cloning everything and adjusting the new installation details as needed.
You should be able to log in to the newly cloned WordPress site using the same administration account details as the original installation.
Manual Process
Copying the Site Files
⚠️ Although this section shows the cloning process on a cPanel server, the basic steps should be the same on nearly any server. Just use whatever tools you have access to in order to accomplish the same tasks.
-
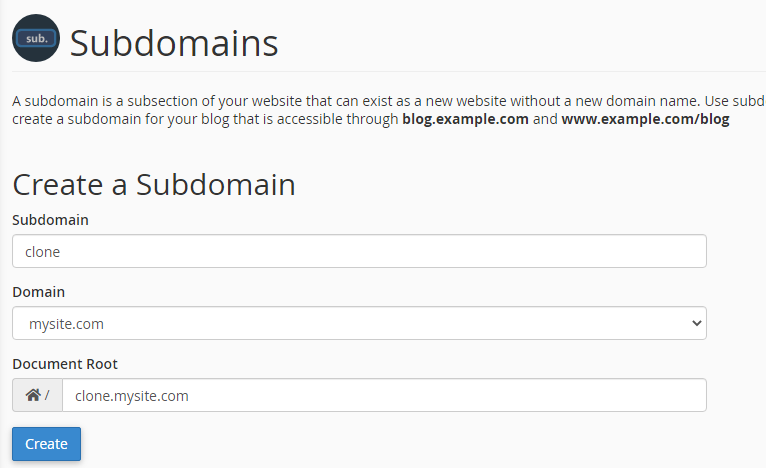
Within your control panel, create a subdomain for the new site using the Subdomains tool. Note the document root location for later.
-
Using the File Manager, navigate to the main site's home directory.
-
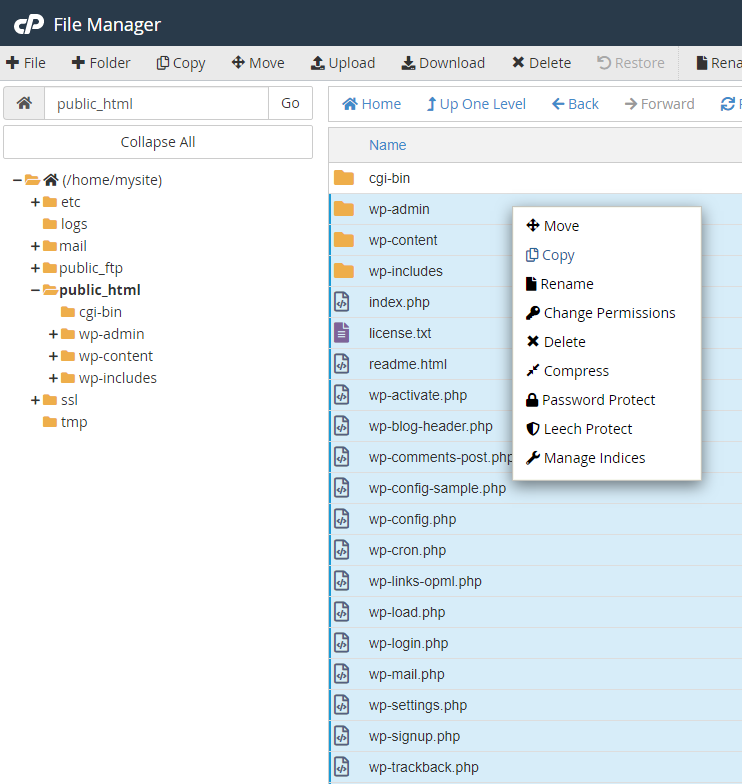
Highlight all of the files and directories within the directory that WordPress currently resides in and then right click and select Copy. If your control panel of choice doesn't have a file manager that can copy the files like this, you can accomplish the same task via FTP or SFTP.
-
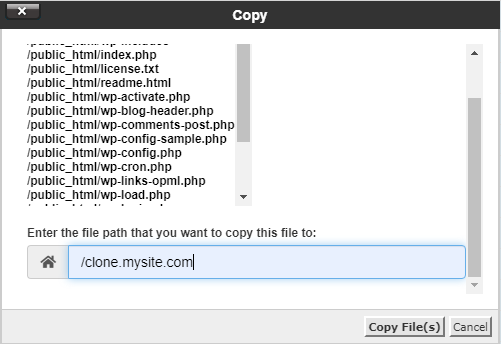
Enter the file path of the document root of the subdomain from step 1 and select Copy File(s).
Creating a New Database
-
Within cPane or your control panel of choicel, click MySQL Databases
-
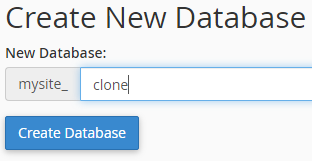
Under Create New Database, enter the desired database name and click Create Database.
-
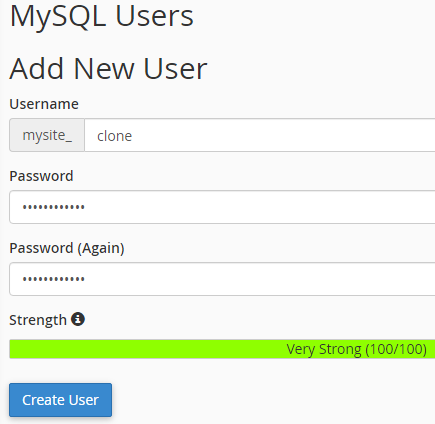
Under Add New User, enter the desired database username and password and click Create User. Save the password for later use.
-
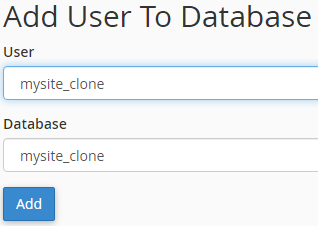
Under Add User To Database, select the user and database you just created and click Add.
-
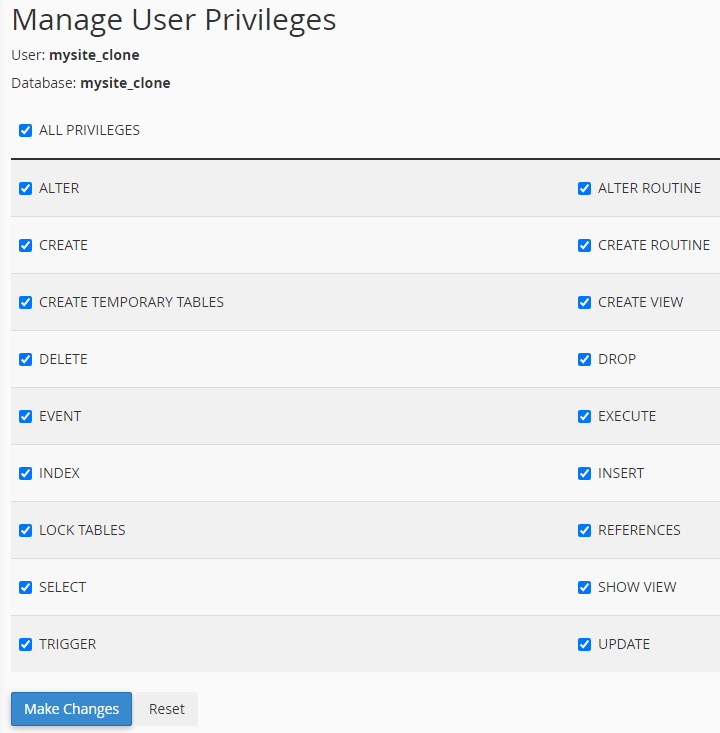
Select ALL PRIVILEGES and click Make Changes at the bottom of the page.
Importing the Old Database
-
Within your control panel, click phpMyAdmin or your control panel's database manipulation or editing tools.
-
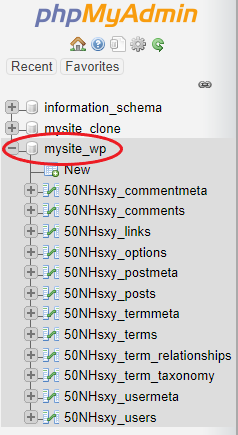
Click on the main site's database.
-
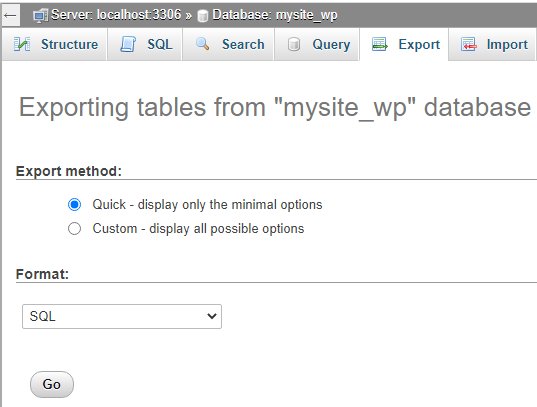
Click on **Export **and then Go. The main site's database will now be saved on your local computer.
-
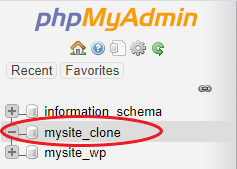
Click on the new site's database.
-
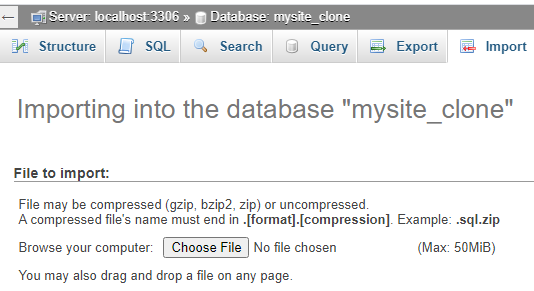
Click on Import.
-
Click on Choose File, select the database file that was created in step 3, and click Go.
Configuring the New Database
-
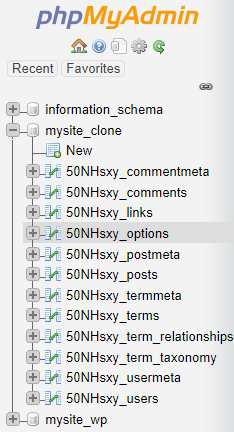
Within phpMyAdmin, select the new database.
-
Click on the options table.
-
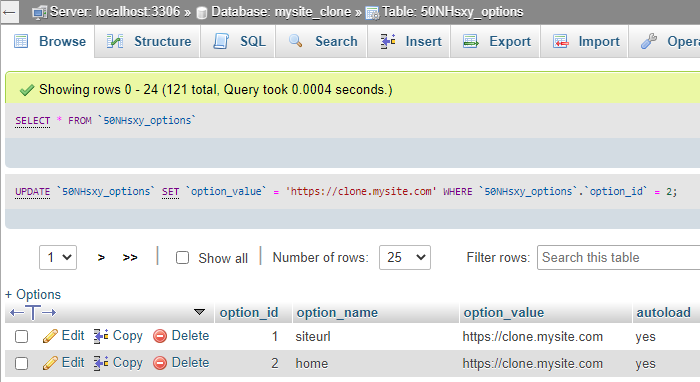
Adjust the siteurl and home rows so that the URL within the option_value column matches the subdomain name for the new site. This can be done by double clicking the current URL, changing to the new URL, and hitting enter.
-
Within File Manager, navigate to the new subdomain's document root. If your control panel doesn't offer file editing tools, you can download a copy of the file via FTP or SFTP, edit the file locally and reupload it when you are done.
-
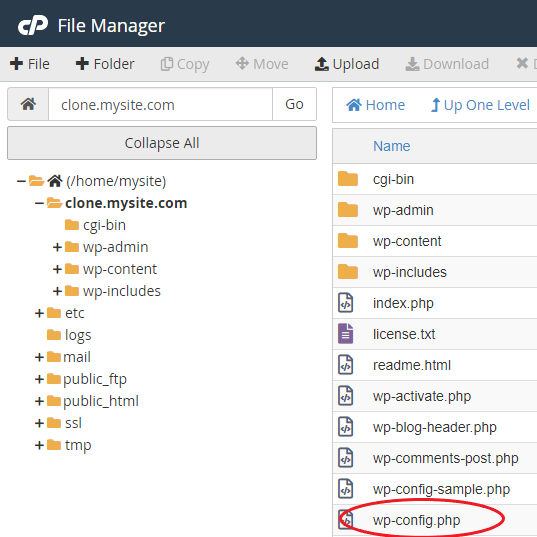
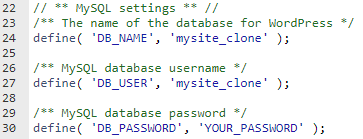
Right click on the wp-config.php file and select **Edit **and then select Edit once more on the pop-up window.
-
Change the DB_NAME, DB_USER, and DB_PASSWORD values to the values created within the Creating a New Database section. Click Save Changes.
-
If everything went well, you should now be able to access your new cloned WordPress install using the admin user details from the original WordPress site. If you run into any issues, you may want to temporarily disable any plugins in the cloned site and try again. You should also clear any caching plugins caches before accessing the new site.